Learn how to install Members Only and set up your membership site.
Installing Members Only
- Download the Members Only plugin from your Account dashboard.
- On your website, log into your WordPress site, go to Plugins → Add New Plugin.
- Click the Upload Plugin button at the top.
- Click the Choose File button, select the Members Only plugin zip file you downloaded in step 1, and click Install Now.
- Click Activate.
Configuring Members Only
After activating Members Only, you will be taken to the Settings page – which is located at Settings → Members Only in your WordPress admin dashboard.
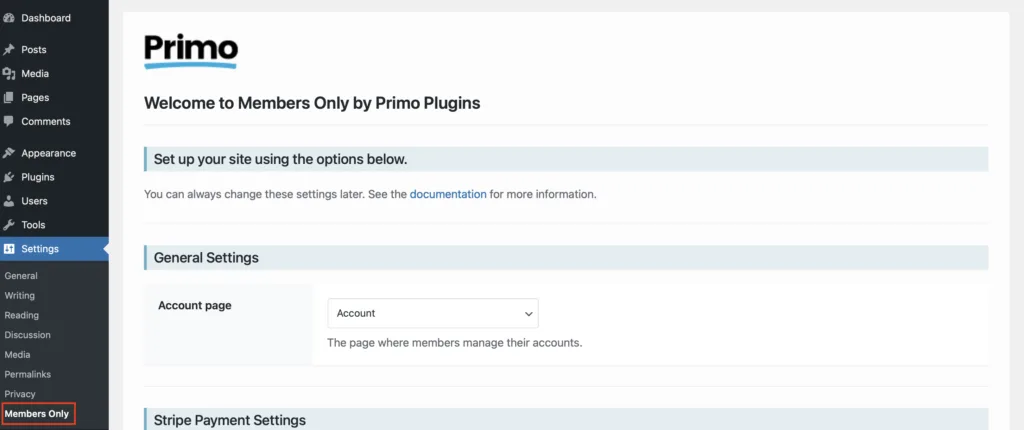
Go through the settings, read the descriptions, and change things to your liking. Let’s walk through the individual settings.
General Settings
Account page
Members Only requires this page to be defined.
As the description says, this is where your members manage their accounts on your site. Members Only uses this page to:
- Display a list of subscriptions the member has associated with their account.
- Provide members a way to manage their subscriptions. They can cancel any active subscriptions. Cancelled or expired subscriptions are displayed, but members cannot “manage” them.
- Provide members a way to download a PDF copy of their latest invoice.
- Display the initial purchase receipt to the member after completing their payment, which also includes a link to continue to their Account dashboard to see the items listed in the points above.
Stripe Payment Settings
Access Control Settings
See Access Control →